Alternatively to this article you can here watch a short video about it. Here we explain how to create a tour that covers several areas. It doesn't matter if the areas belong to one customer or if the areas are of different customers, like in a big shopping mall with many stores.
First, please create your customers and areas and learn the control points for each area. How this works in detail you will learn here.
Please go to Master data in the main menu and to Tours in the submenu.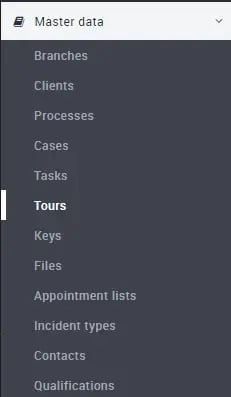
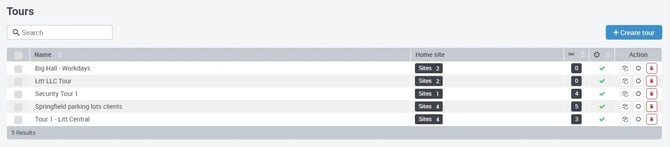
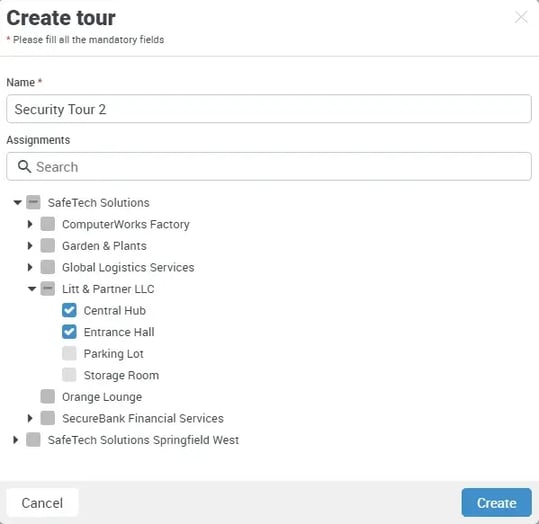
Here you may see a list of the tours you have created. Please click on the + Create tour button at the top right to create a new tour. In the following pop-up window, it is best to give this tour a meaningful name that indicates that it is an overarching tour of several areas.
Select the customers and the areas to be included in the tour. Once you have selected all the desired areas and assigned the name, please click Create.
After clicking on Create you will get to the following view: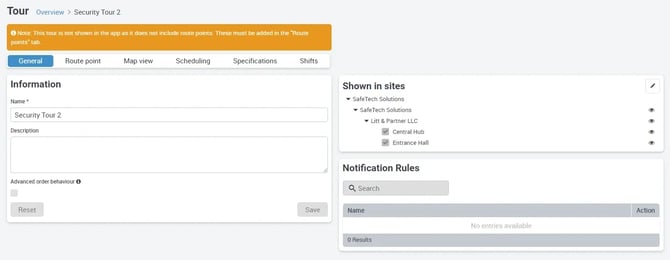
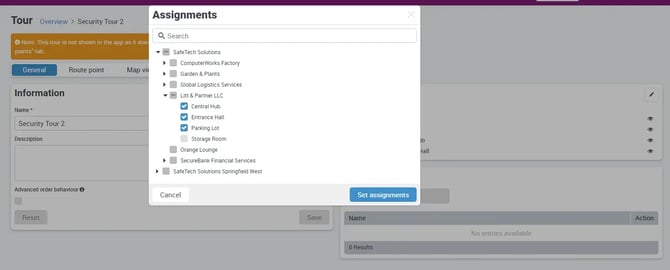
On the right-hand side, you can see in which areas the tour is available. Under Information, you will see the name of the tour, which you can change here. You can see the notification rules on the right under the Shown in sites field.
Above this, in the Visible in areas field, there is a pencil symbol at the top right which you can click on to add further areas (e.g. new areas) to the tour.
At the top of the table bar, to the right of General, you will also see Route points, here you can see how many control points you have added to this tour.
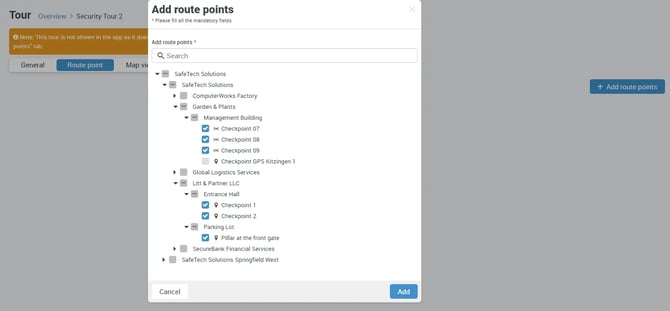
Now click + Add route points and a popup window Add multiple control points to the tour will open. Here please select the customers, areas and then the control points to be included in the tour.
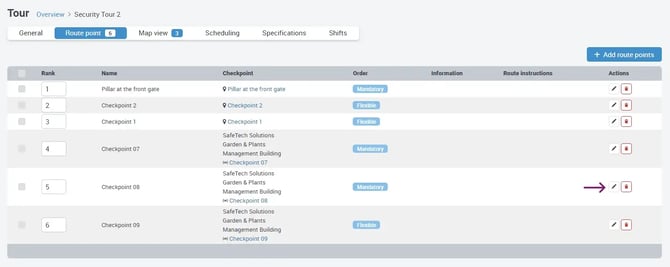
Clicking Add will take you back to the previous view. At this point you will now see your added control points listed one below the other.
By Change order you can now still change the order in which the control points are to be scanned. The top entry is always the control point that is to be scanned first. If you want to set the order to be unchangeable, you have to change the control points to Mandatory.
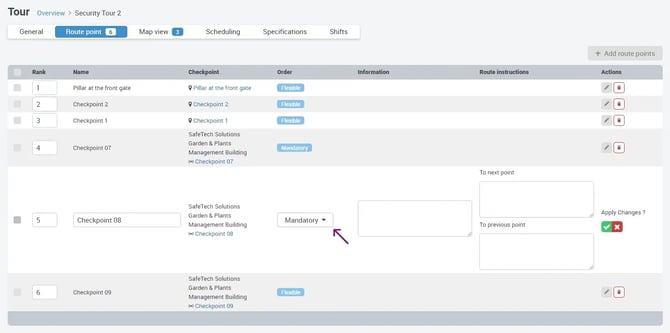
For the setting Mandatory, at least two control points must always be set so that the rule Mandatory can take effect, since the mandatory control point must know whether it is the first or the second mandatory control point.
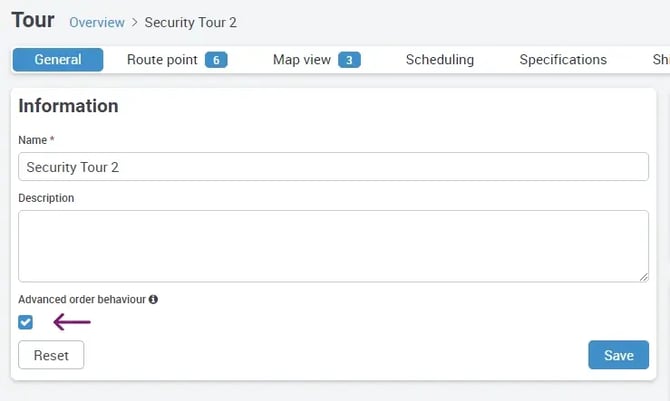
An exception to this is the Advanced sequence behavior. If you set this to Yes, only one mandatory checkpoint will suffice, or checkpoints at different locations that need to be scanned at a specific point. Here is a small example to illustrate this:
The other settings are exactly the same as the normal tours or its control points. You can change the settings here.