Please note:
If you only have one company with no other branches, you can ignore this article.
If you are already a client and do not have or need several branches, you do not need to worry about anything, because nothing changes for you. All your settings will be retained and you can continue to work with COREDINATE as usual.
The creation and management of branches:
In the portal, please click on Master Data in the main menu on the left and then on Branches.

If you are already a client, your company is automatically created as a branch. If you are a new client, your company is also automatically created as a branch. You can create new branches by clicking on the blue symbol + Create branch at the top right.
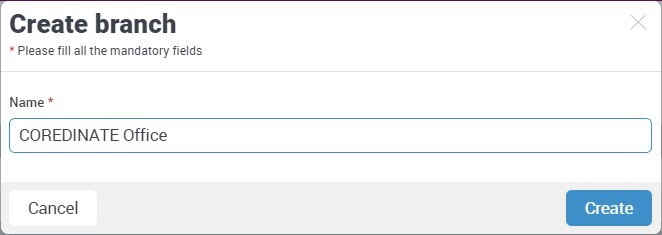
Enter the name of the branch here and click on Create.
Now you will see the overview of the newly created branch, where you can enter the address data and further information if required, but you do not have to.

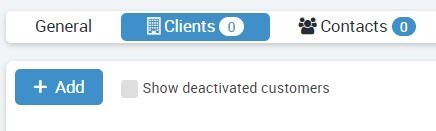
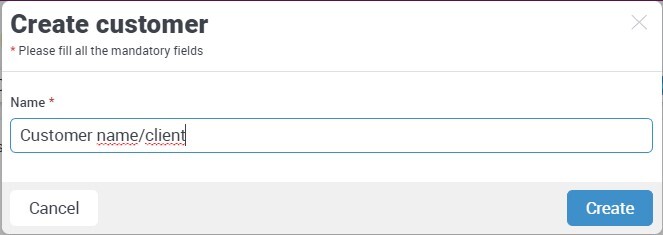
If you want to create new clients for this branch, please click on the tab Clients and then on + Add and enter the name of the client at this point.
You can read in detail how to create clients and areas here. Alternatively, you can also move clients from the existing branch to the newly created branch. To do this, click on the Branches menu again and then on the name of your existing branch. Click on the tab Clients and then select the double arrow symbol at Actions on the right, which client you want to move to another branch or assign to another branch.

In the following pop-up, all created branches are displayed:
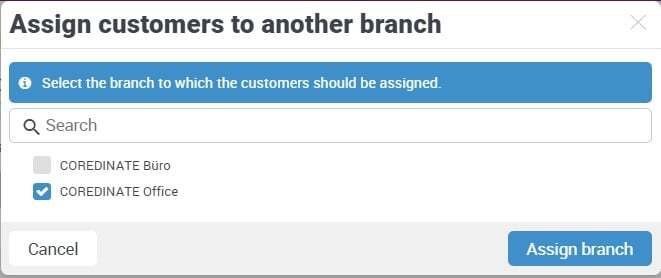
Please select the branch to which the client is to be reassigned. Now please click on the blue button Assign branch on the right and the client will be moved to the new branch including his created areas and control points.
Existing tours and tasks are also taken into account when moving to the new branch and transferred to the new branch. If users (staff) are assigned to your existing branch or to certain clients and/or areas, you must assign them to the new branch. You can do this either individually or several users at once.
Existing users who are to be assigned to another branch must also be reassigned under Administration -> Users!
Now the users are directly assigned to this branch, but you can also select clients or areas of a branch to which the users are to be assigned!
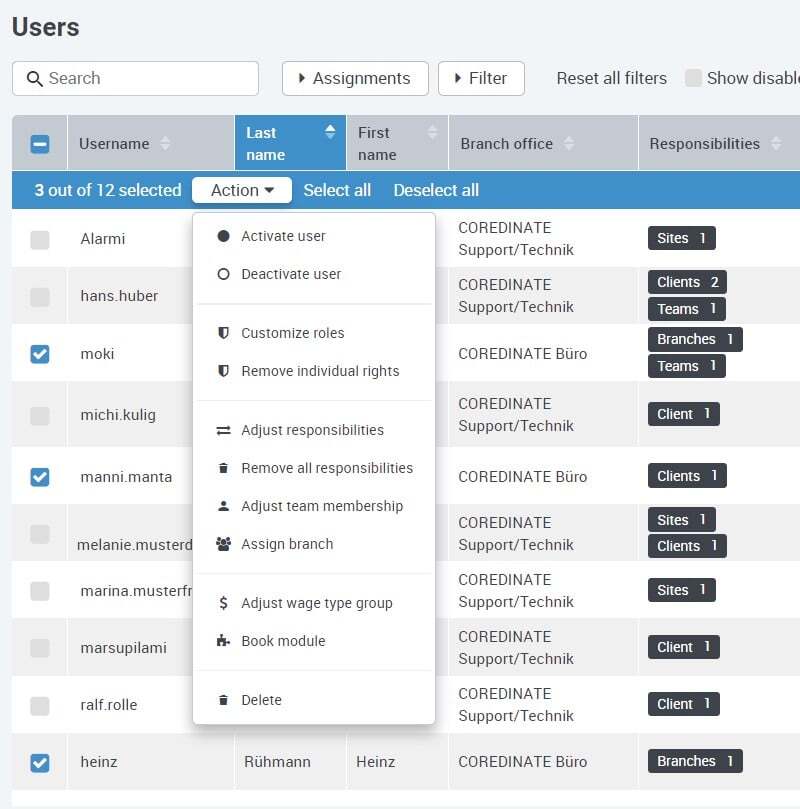
You can assign individual users to the new branch office by clicking on the Staff tab in the main branch office and then clicking on the double arrow symbol on the right at Actions.
![]()
A pop-up Assign users to another branch appears.
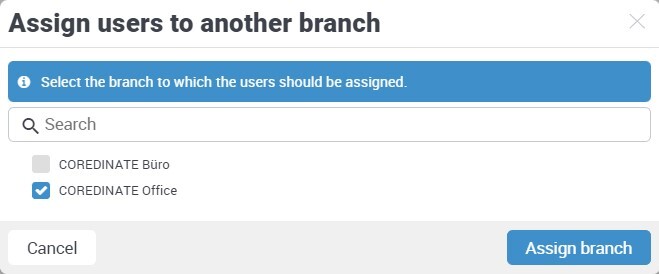
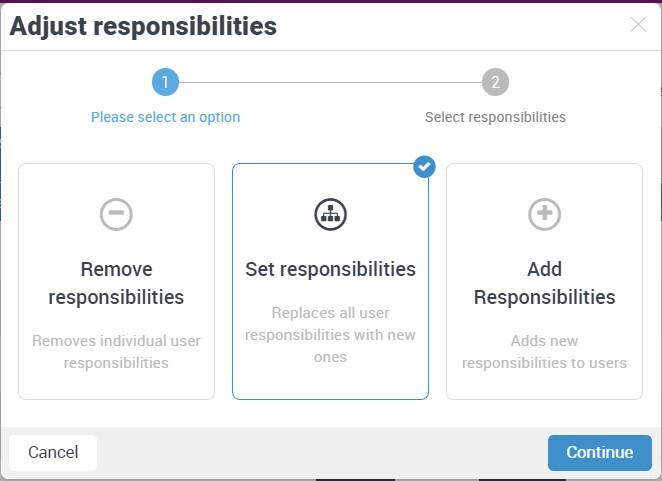
Select the desired branch office to which the user is to be assigned and then click on Assign branch office. You can assign several users at once to another branch office by clicking on the blue double arrow symbol above the user list and in the following pop-up select the users you want to reassign.
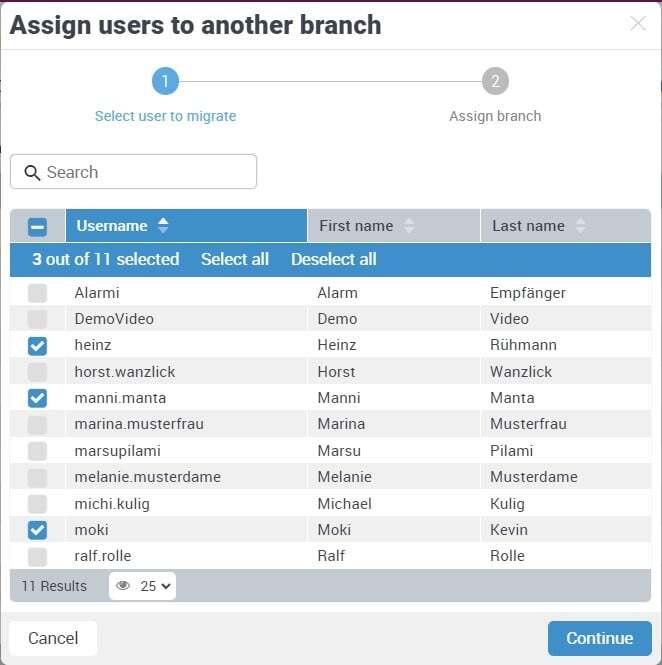
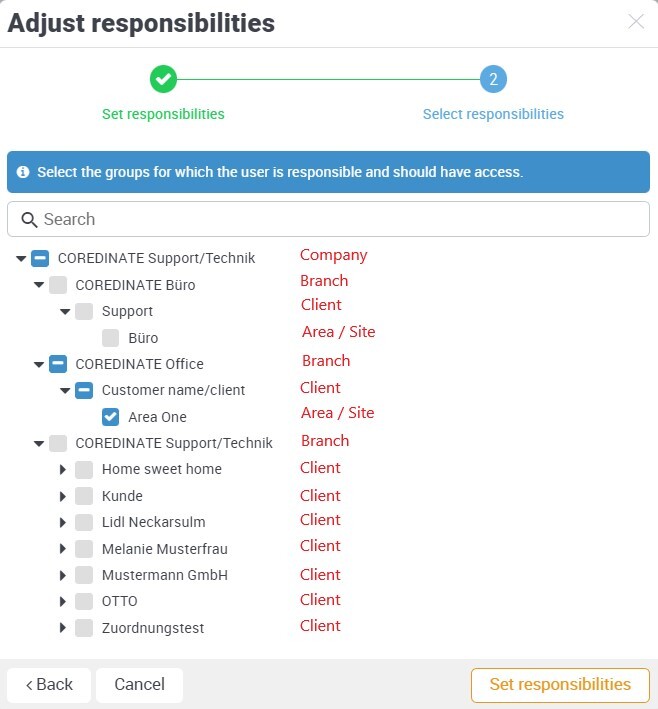
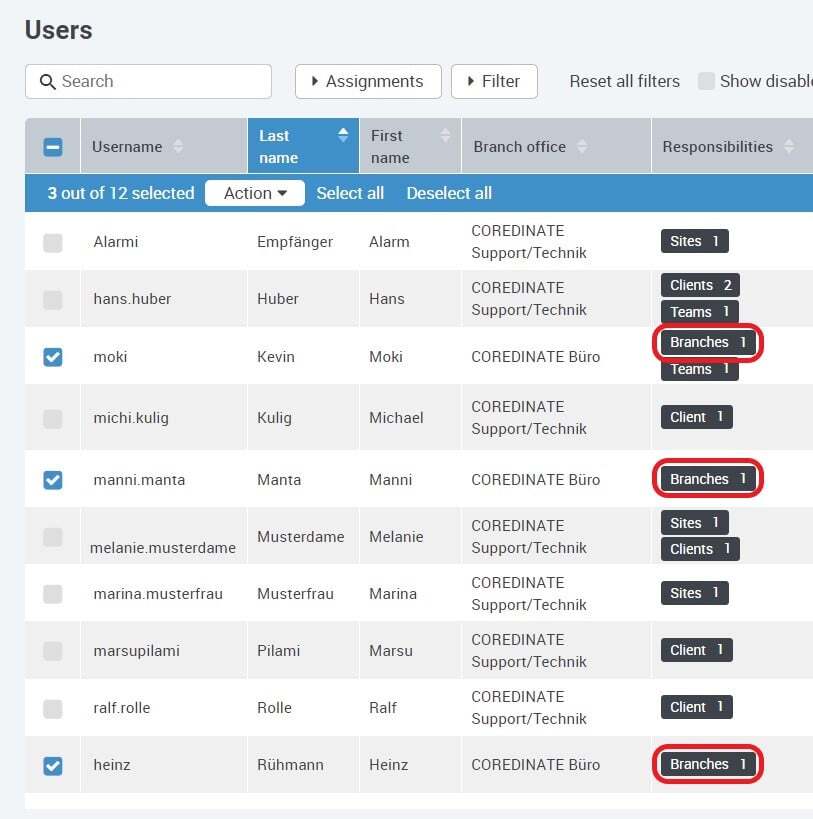
After you have selected all the desired users, click on Continue and now select the branch to which the users are to be assigned. Once you have selected the branch, click on Apply and the users are assigned to the new branch. In the Staff tab or in the list of branches, the number of staff also changes immediately.
You can also assign your mobile devices to the branches under Administration -> Devices. However, this is mainly for clarity in the portal.
An example: A user is assigned to branch A. Mobile device B is also assigned to this branch. The user only sees mobile device B, which is assigned to his branch.
However, the devices can still be used in all branches regardless of the assignment!