With the events you can document with photos and text when you observe unusual events.
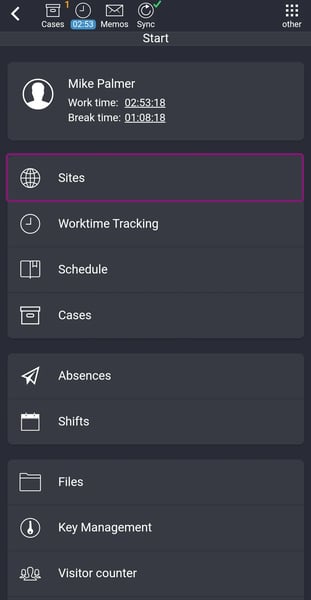
You have the option to record one or more events with the COREDINATE OWKS® app in two places. Once you can capture an event in the area or you can capture events when you are in the tour so you don't have to pause it or even end it. Please log in to the app with your user name or your access medium, if you have not already done so, and tap Search area in the Functions.
After that a list with all created areas will open.
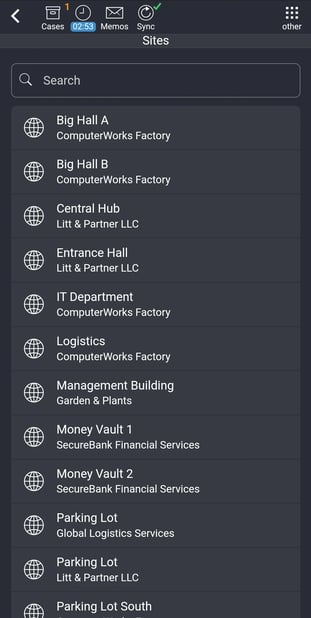
Tap the desired area. You can also capture events in a tour by tapping Show Tours and selecting the tour you want and then having to start it. The procedure is absolutely the same no matter where you capture an event.
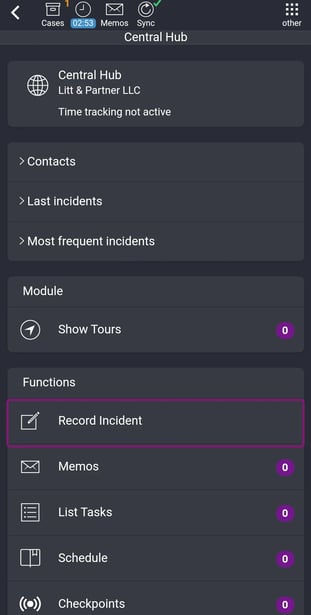
Under modules Display tours you will find the Functions. Here you can already see under Functions Record event what you please tap on. The following view opens:
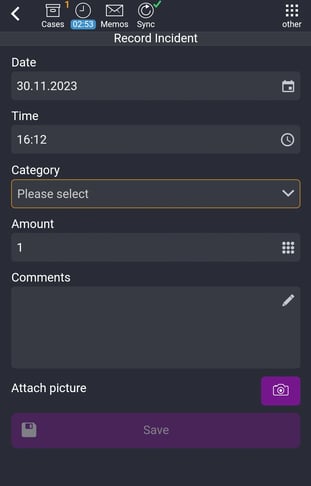
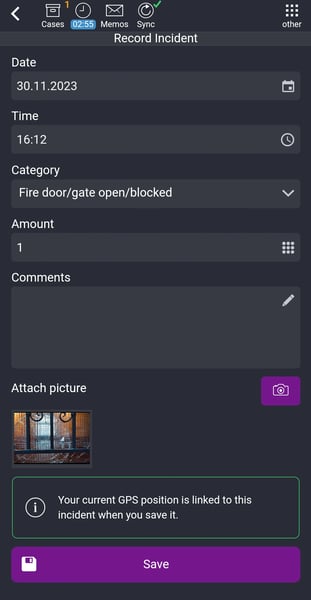
Date and time are already preset, but can be adjusted for specific situations. You will see a field Make selection (mandatory field!) please tap on it.
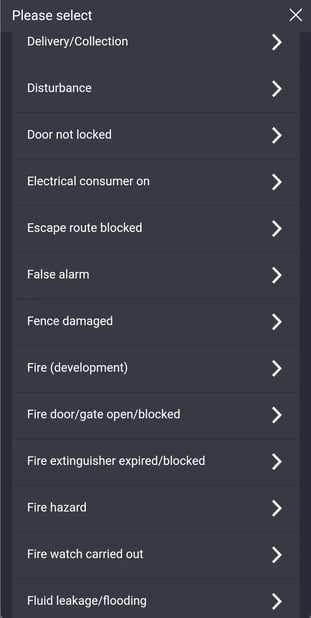
Now a list of ready-made event types will open, from which please select one.
Depending on which event types have been created for the area, they are offered for selection here. If an event type is not available for selection, it is not intended or assigned for this area.
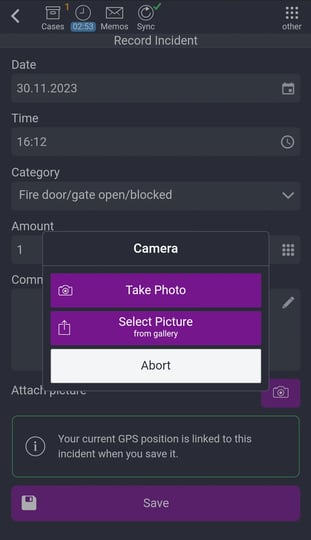
Your selection will now be displayed under Event type in the field where Make selection used to be. If you made a mistake, you can change this selection at any time by tapping the field under Event type again.
Then the selection list opens again and you can correct your choice. The event types can be accessed in the portal (provided you have the appropriate rights) under Master data –> Event types either change, rename or add your own. Thus, you can customize them to suit your company and your needs. You can find out how to do this here here.
In the set of events (see also our example) you can change the number. For this purpose you can also write a remark, which could explain the number, for example. You can, of course, enter any other information relevant to this event in the Remarks field.
If you have configured your mobile device keyboard so that the microphone is active, you can also dictate texts with your voice instead of typing on the device keyboard! Please refer to the operating instructions for your device to find out how to activate or set this. You can see under the Remarks – Attach image field where to the right of it there is this camera icon located. Please tap on this icon, then the following popup will open with the following choices:
-
Take photo
Starts your camera directly on the device. If you have taken a photo, you have to save it in the camera so that it is transferred to the app
-
Select photo
Lets you select an already taken photo from your gallery and paste it into the app.
If you have now transferred your image from the camera or from the gallery to the app, you can directly select further images by clicking again on the camera icon and transfer them to the app.
You can tell if importing into the app has worked by the small preview icon under Append image. Depending on how many images you have taken or imported, the amount is displayed as a number to the right of the thumbnail.
When you click the picture you can view the image(s) in large and check if your shots are meaningful enough, or if you might want to delete an image again to take a new one. You can delete the respective photo by tapping on this delete field.
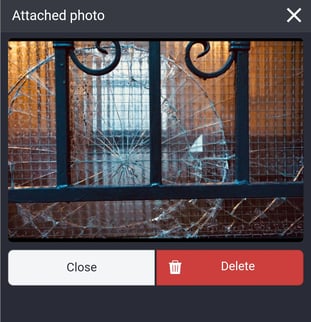
Once you are satisfied with your selection, simply tap Close under the large image preview and you will be returned to the previous view where you tap Save under the thumbnail preview. The captured events are transferred to the portal with the images.
Done, your events are visible in the portal from now on.
Depending on the size and number of photos, as well as the internet connection used, the data transfer may take some time. The more images you capture in one event, the larger the data packet that COREDINATE has to transfer, which is why we recommend a data flat rate for your mobile device or alternatively a connection via WiFi (if possible) for a complication-free process.
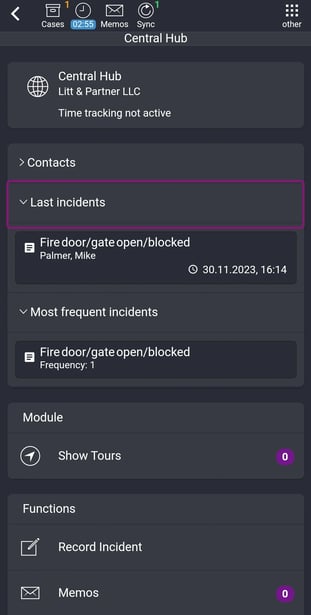
For your information, which events are accumulating in your area or which events were recorded last, you can tap on the fields Last events or Frequent Events. There you will get the information about the last or the most frequent events.