This is always practical if you want to inform customers or colleagues about your entries without delay.
The logic behind
In the COREDINATE system, sending a form is a notification that combines the following informationt.
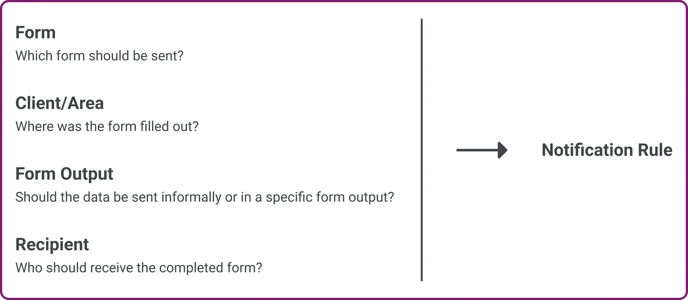
This information ensures that you can easily define who receives which form and in what form. Once defined, these rules run very conveniently and automatically.
Settings
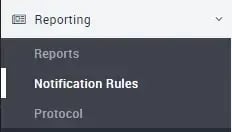
To be able to use the automatic form dispatch function, the following steps are required. Log in to the portal and click on Reporting in the main menu on the left and then on Notification rules.
A list of all previously created notification rules will then open, if you have already created any.
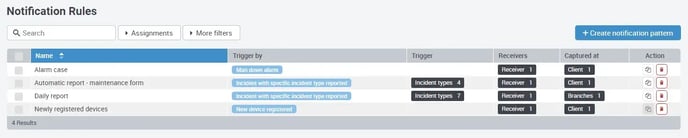
Please click on the blue button + Create notification pattern at the top right under your name to create a new notification rule, a popup will open in which you must enter a name for this rule:
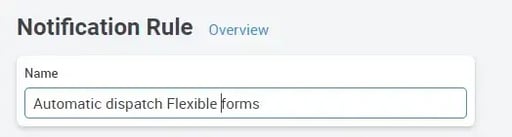
An input field opens in which you enter the name of the new notification rule. Then click on Create.
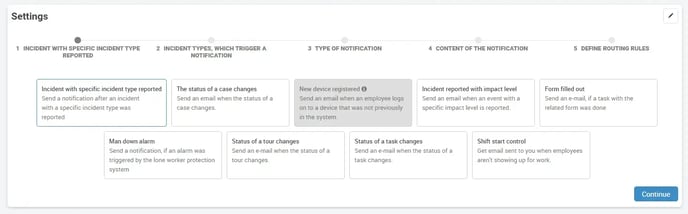
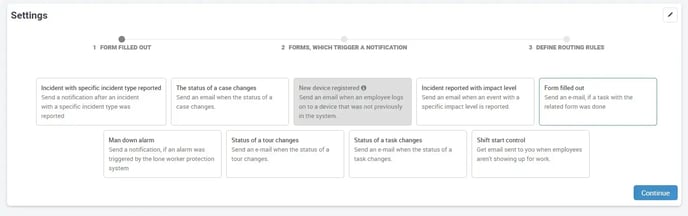
The detailed view of the notification rule you have just created will then open. Please select the entry Form completed as the basis for sending and click Continue at the bottom right.
The next window opens, where you can select the form to be sent automatically. You can also select several forms here – but please note that all selected forms will then be sent to the same group of recipients!
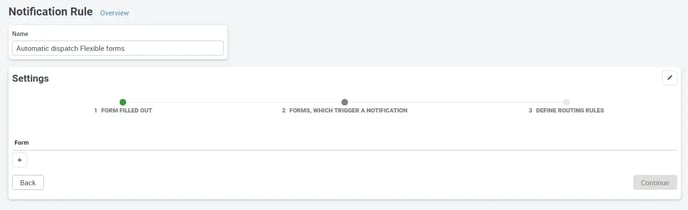
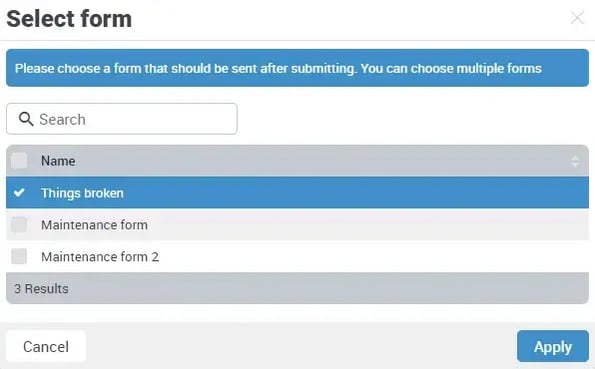
After selecting the desired form and clicking on Apply, the selected form is displayed. You can add further forms to this rule at any time using the large plus button on the left below. Use the Output or Informal button to specify whether the form data should be output informally (i.e. as a simple table) or whether you want it to be output in a specific form.
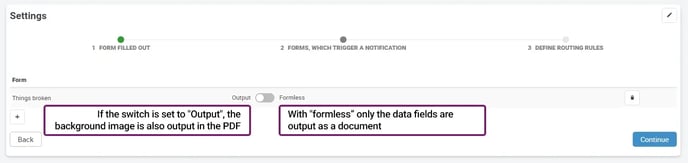
Form outputs must first be created under Flexible forms and Form outputs so that they are available for selection here!
Once you have clicked on Continue, the following view opens, in which you define the routing, i.e. where the form should be sent for which customer areas.
The following information is required:
-
Sender details
-
Subject and text of the sending email
-
Customer or area for which the completed form is to be sent
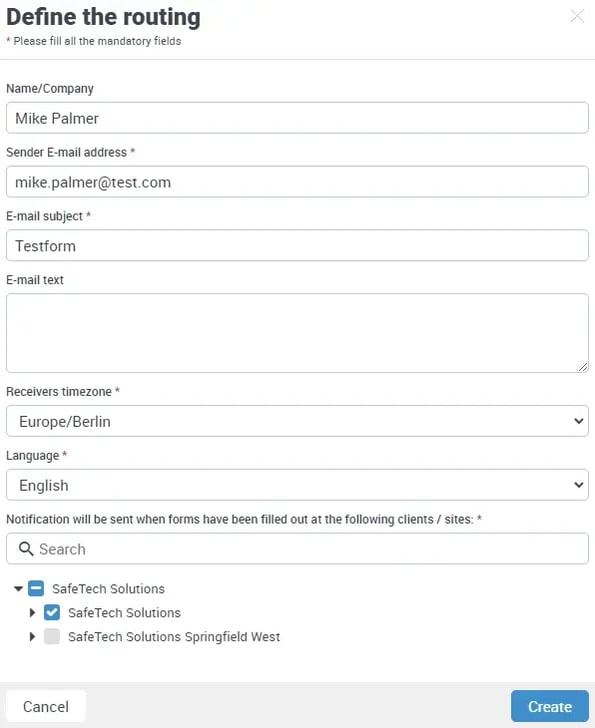
Enter the sender and the sender's e-mail, as well as the e-mail subject, e-mail text, time zone and the assignment for which customer or object the form is to be triggered.
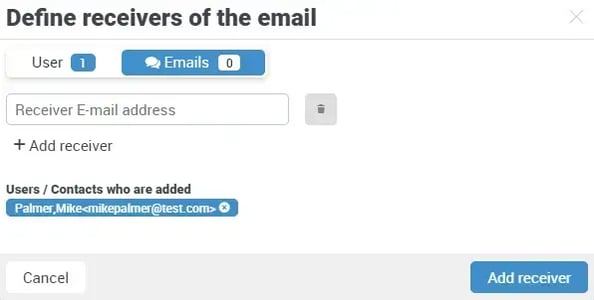
Once you have clicked on Create, you will be asked to enter the recipients for this notification rule. You can either use contacts that have already been saved or enter a new email address in the field above. Your selection will be listed in blue below.

The rule is then summarized again with the entire content.
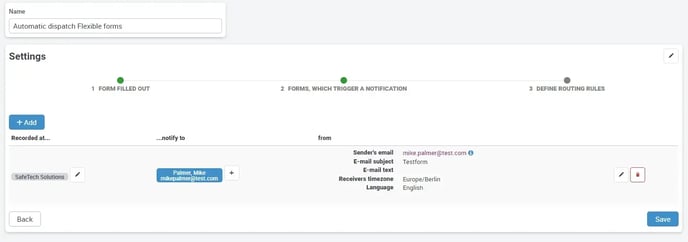
If you wish, you can either edit the details again using the pencil icon on the right or delete all details completely by clicking on the recycle bin icon. After you have clicked on Continue, the finished notification rule is clearly displayed. It can be edited at any time using the pencil on the right.

No further settings are required. If your employee now completes the entry of the selected form for the desired customer (this combination must be present), the form is immediately sent by email in PDF format.